
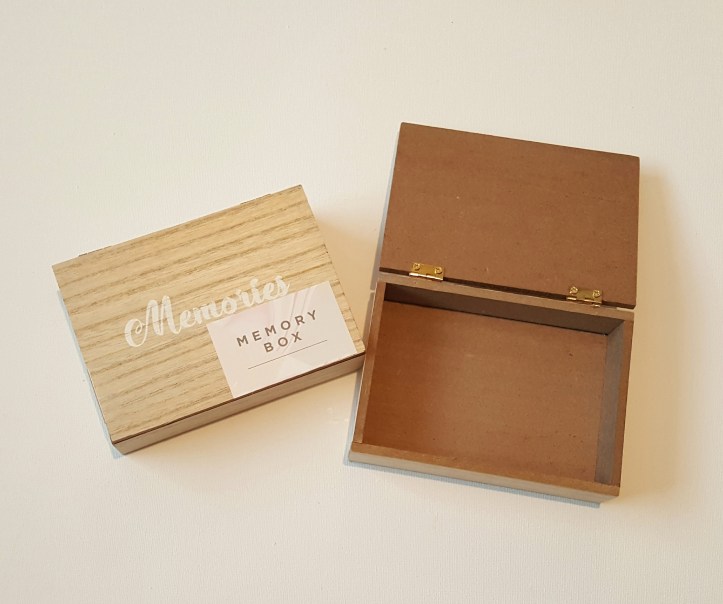

Hi, last week I was chuffed to discover some MDF memory boxes in the Poundshop that had been reduced to 50p. I bought 4 boxes as they are a perfect base for crafting over. I decorated two of the boxes using genuine vintage items from the mixed media packs by Simply Vintage Designs that can bought from http://www.hochanda.com or from Simply Vintage Designs http://www.simplyvintagedesigns.co.uk These packs are perfect for vintage lovers and crafters as they contain everything from vintage music scores, book pages, cigarette cards, playing cards, ribbons, lace, postcards, tickets and buttons. These packs allow you to craft with and experience the charm and uniqueness that comes from using geniune vintage pieces as opposed to mass marketed replicas.
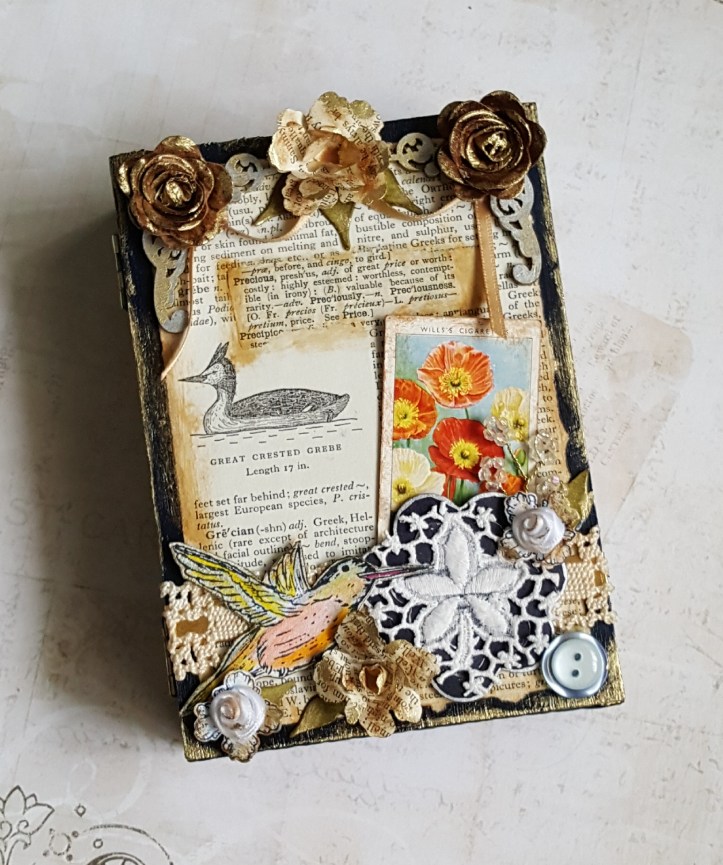

This is the first box that I decorated. I embossed some heavy weight card and trimmed it to fit around the sides of the box. I used thick card as I used quite a bit of paint and liquid gilding paste over it and anything thinner may buckle under that weight and wetness and might flatten the embossed detail. Once the card was glued to the sides I painted over it using Pebeo Acrylics. These paints are amazing!

Once the paint was dry I selected the papers that I wanted to use to cover the inside and bottom of the box. I cut blocks of text out of some of the vintage papers and decoupaged them inside the box using a matte decoupage glue (this is a great opportunity to use up any scraps that you jave left-ove). I liked a page from a vintage book of flowers so I glued that in its entirety to the inside of the lid. I used part of a page from a vintage book to cover the bottom of the box. Once the glue dried I sanded back any bits of paper that came over the edges and then lightly blended some Distress Ink around the outer edges of the papers that I had just glued down. I also lightly blended some ink over the inside of the box to pick up on the edges of the cut-up pieces of paper.

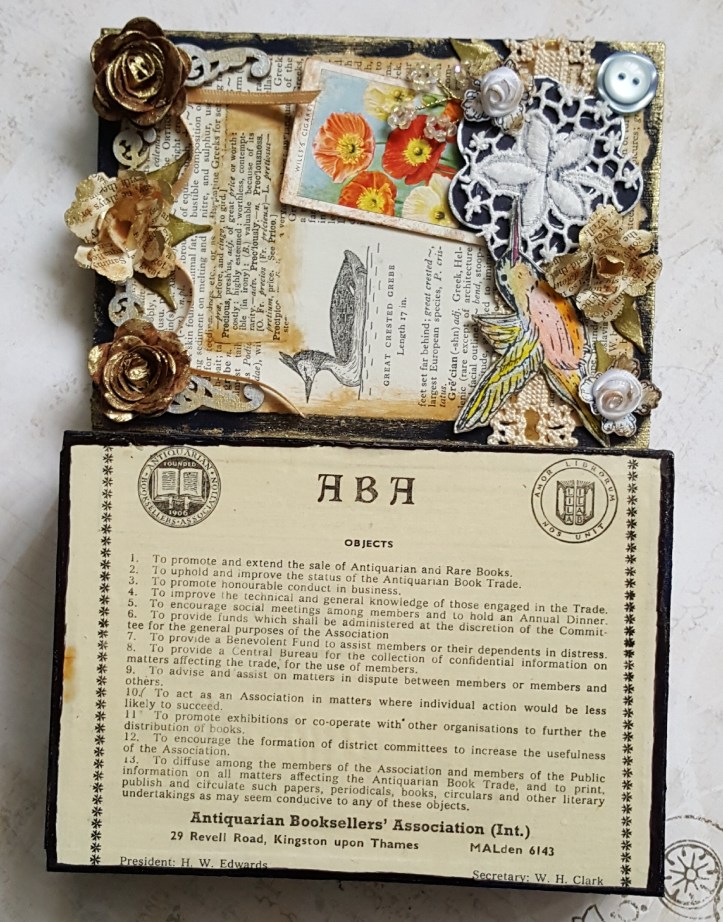
For the front of the box I used a book page as a base in which to build the top layers. I trimmed it down then glued it in place, I really liked the picture of the duck on the book page so wanted to make sure that was a feature on the front so I built my layering around that. I like to play around with bits and pieces until Im happy – it can take a while!
I used some vintage lace across the top of the box and a piece of embroidered vintage fabric that I backed onto some dark blue card to help the white fabric stand-out. I love poppies so I wanted to use the cigarette card and I had the humming bird already coloured up in my paper stash and the colours tied in with the poppies on the card so I used that. However, I wanted to tone down the bright colours from the poppy and hummingbird just a little so I used distress inks around the edges of the bird and poppies card. I made paper flowers by stamping a flower design on to vintage book pages and then die-cutting them out. I manipulated the flowers around my fingers to shape them.
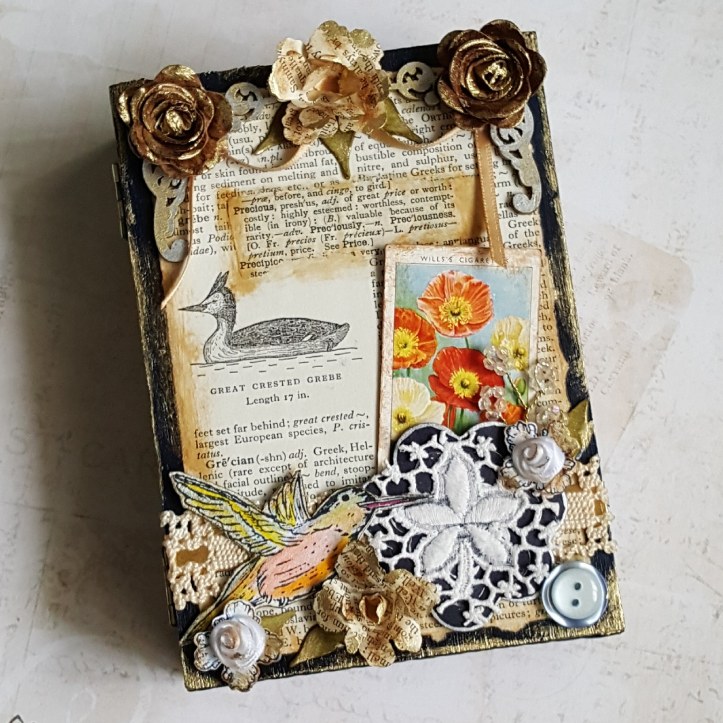
I added a piece of text to the front page near the top and dusted with distress inks in order to gently highlight it. I added other bits and pieces to help balance things out and then finished by brushing liquid gilding wax over the edges of the flowers, the edges of the top of the box and then giving a heavy coat around the sides of the box to pick up the embossed detail.

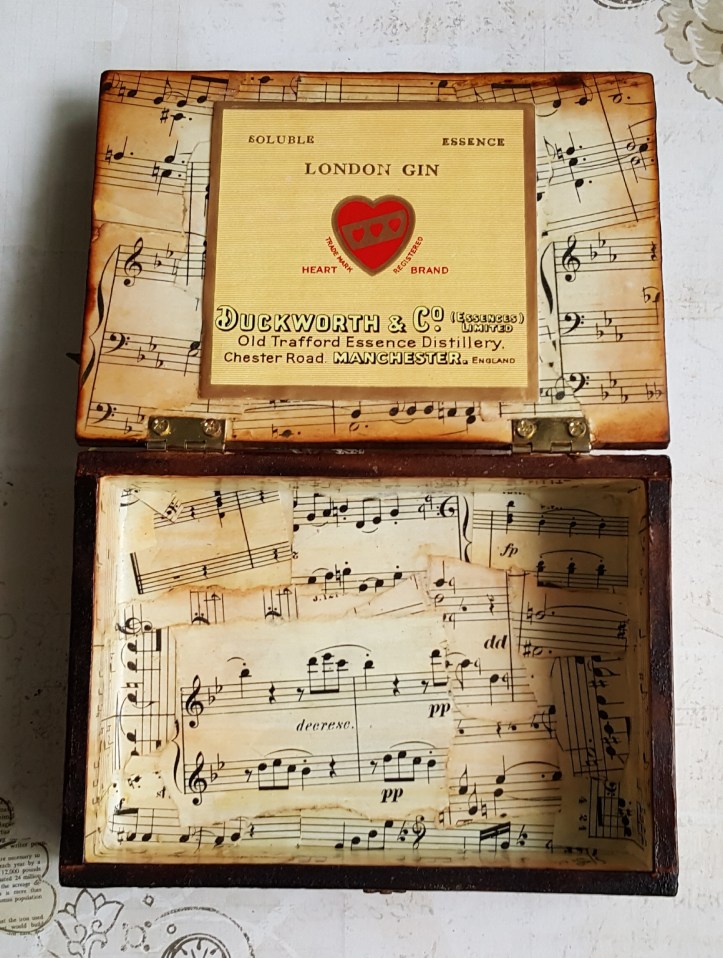
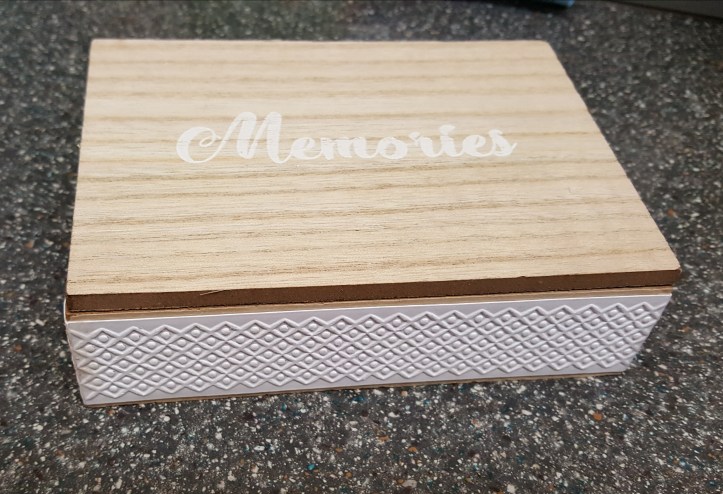
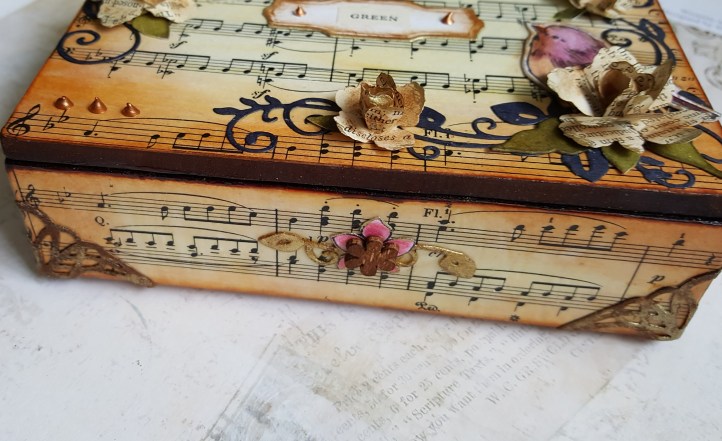
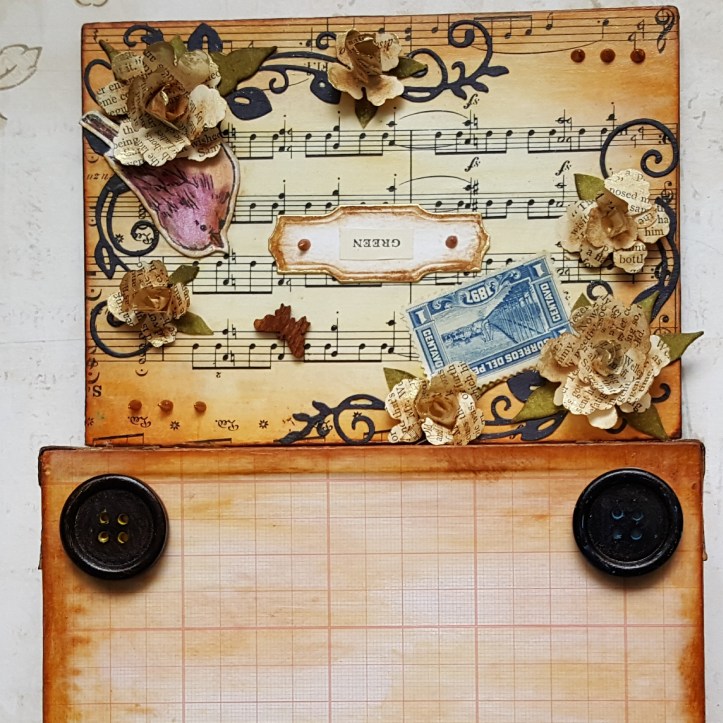
This is the second box that I made from the Poundshop find. This time I primarily used the vintage music score papers that also came from the Simply Vintage Designs mixed media packs. I also used some stamps and die cuts from my stash. I used a heavy coat of Distress Inks around the box and some small MDF shapes that I inked and gilded. I used large buttons on the base of the box as feet to lift the box up slightly.
Thank you for reading and I would love to see any of your makes.
Lore x

What a great find Lore and I love how you transformed these, they look beautiful, It’s amazing how that embossed card looks when you had finished working your magic! Jenny x
LikeLiked by 1 person
Thank you so much, it still amazes me how a bit of paint and paper can transform something so much. X
LikeLiked by 1 person