
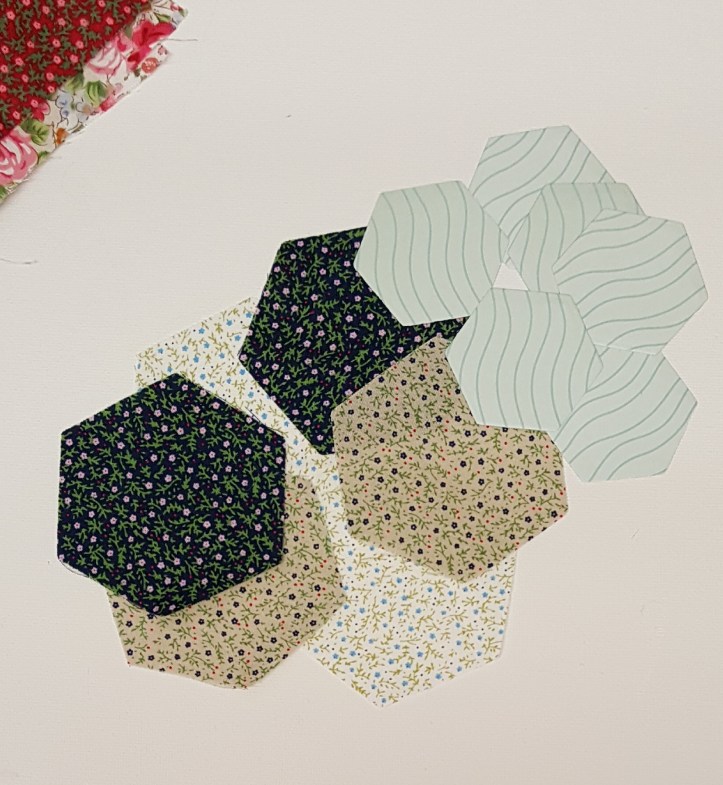
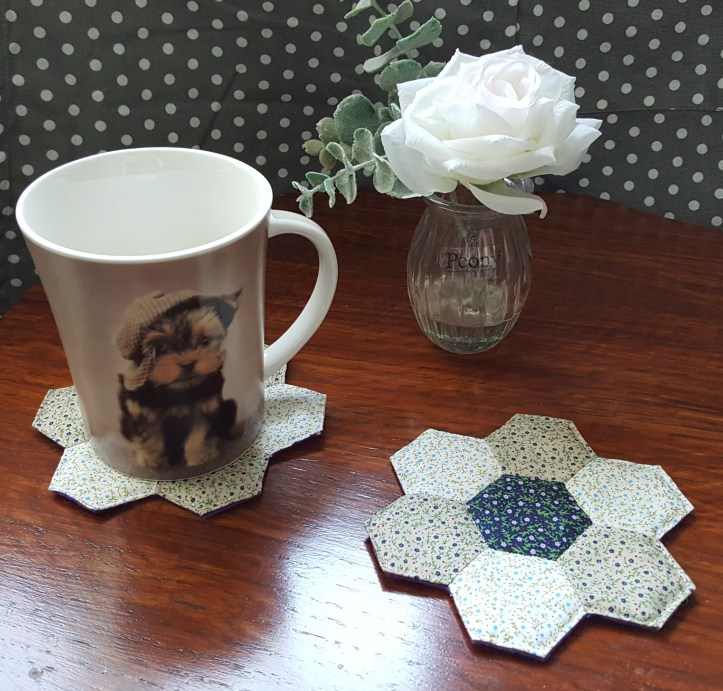
Hi, I hope you have all been keeping craft happy. I made these coasters from the fabric hexagons and cardboard shapes that I cut out on my new Gemini Die Cutting Machine. I have always loved the look of English Paper Piecing (EPP) patchwork and it was one of the first sewing techniques that I was taught by my Nan. Despite the love I had for the craft of EPP I did not love all that cutting out and preparation that you needed to do by hand before you get to the fun stuff – sewing! There was always so much work involved in EPP that I would never get round to using the technique but thanks to my new Gemini machine I can see myself falling back in love with EPP. I had so much fun making these coasters, I hope you like them too.
You will need:
- Cotton in 3 different patterns or colours
- Card
- Needle and thread
- Wadding/batting
- Felt
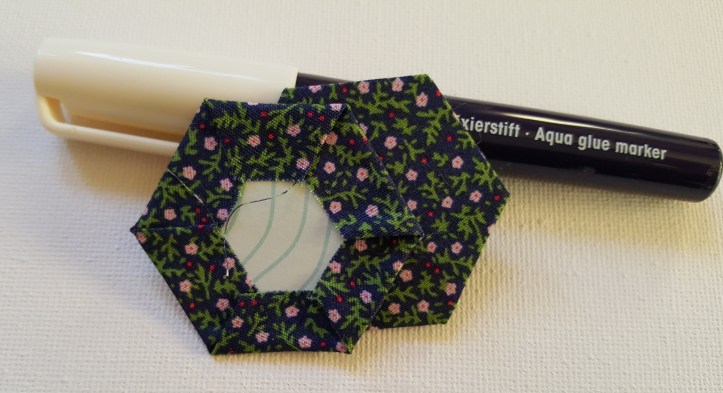
- Temporary fabric glue stick
I started by cutting out all the fabric hexagons using the mixed media hexagon nesting dies that come in the box with the Gemini machine. I used the largest hexagon for the fabric and I used the second smallest die down from that hexagon to cut out the card that will be used in the centre of the hexagons. I cut out 14 fabric hexagons and 14 cardboard ones to make 2 coasters.
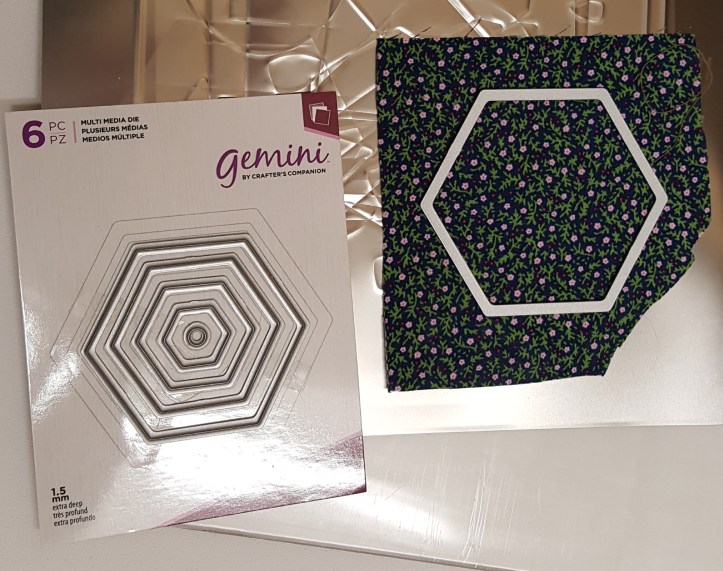
With the mixed media dies it is recommended that you use the metal plate/sheet that comes with the machine. The machine comes with advice on what combinations of plates to use for different types of dies and materials.
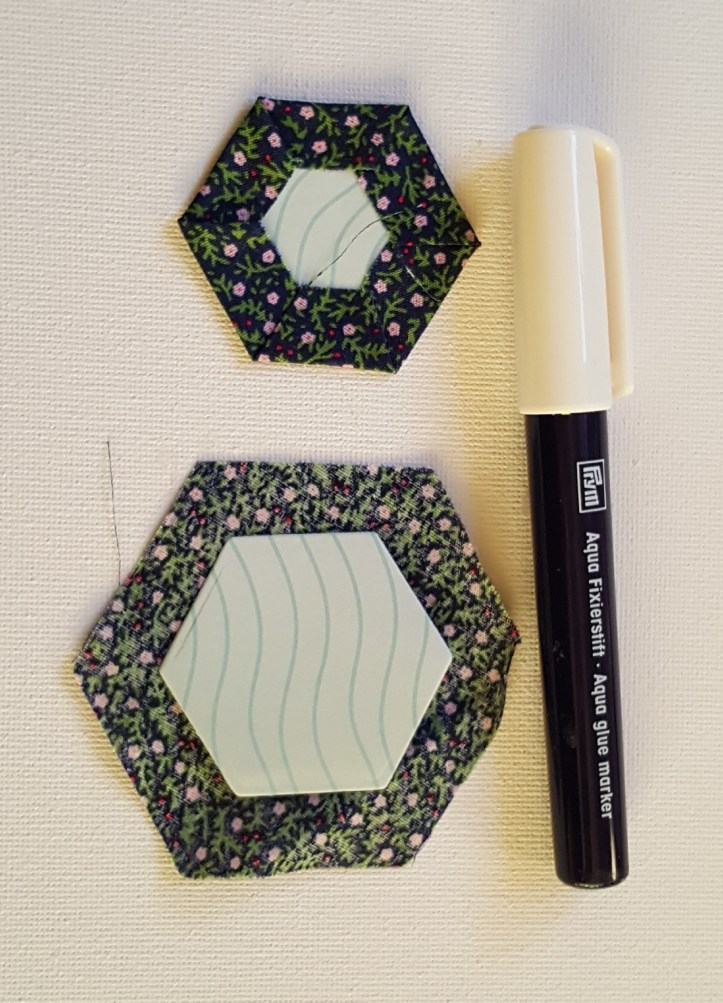
Once I had all my pieces cut I needed to prepare the hexagons for stitching. I took the smaller card hexagons and placed them into the centre of the larger fabric hexagons on the reverse side of the fabric. Traditionally you would fold the fabric over the hexagons and tack those seams in place by stitching through the cardboard but I prefer the modern day glue stick method. I used a temporary fabric glue in a stick to glue the folded over fabric to the card, I find this to be so much quicker than tacking.

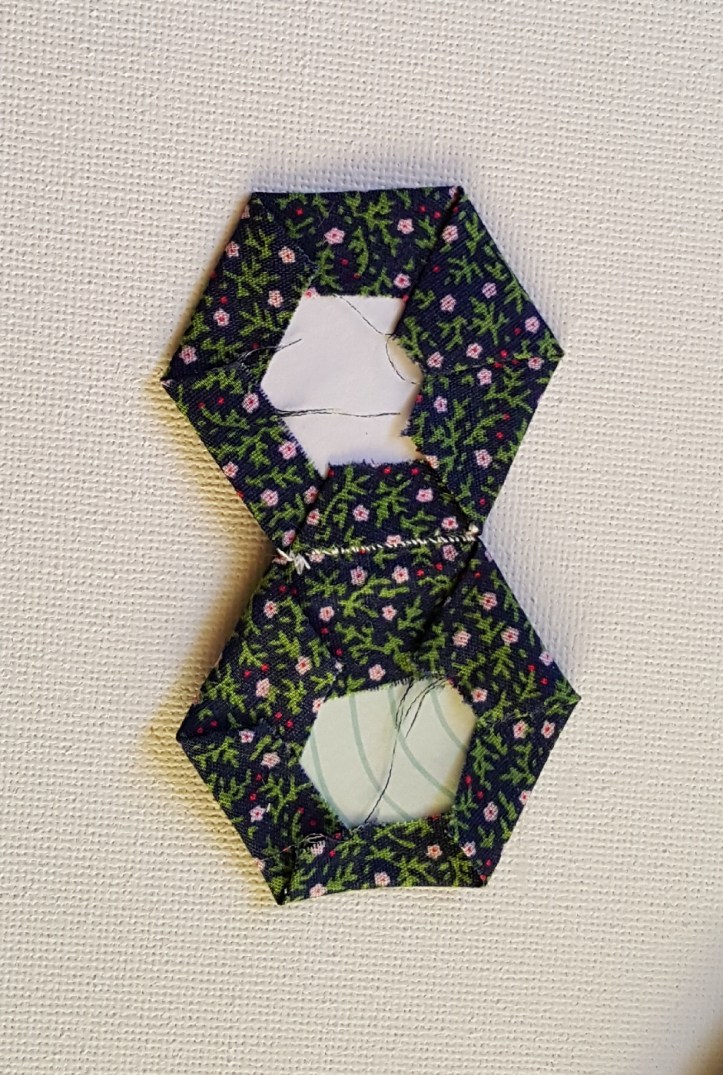
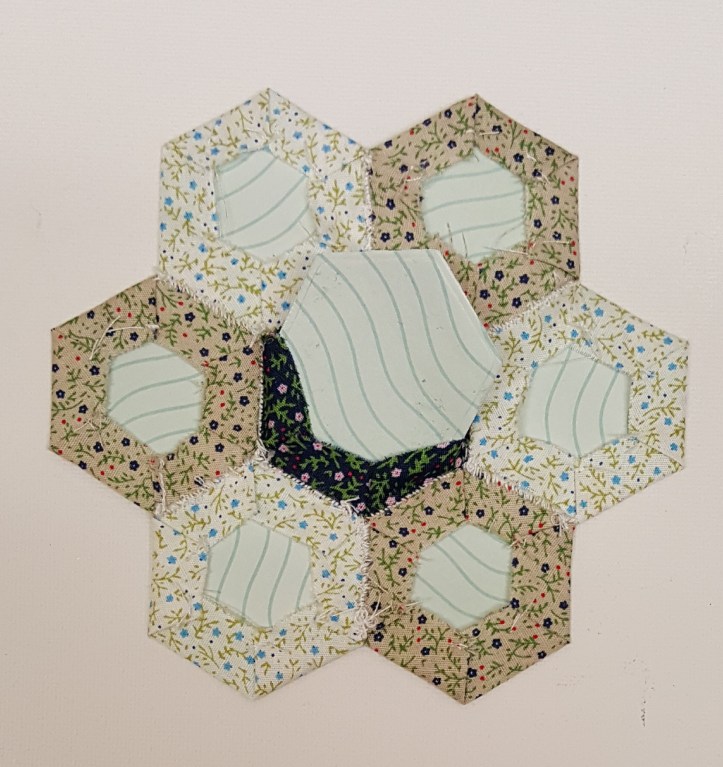
When you have glued all your hexagons down around the smaller cardboard ones it is time to stitch the hexagons together. To stitch the hexagons together I used a whipping or looped stitch to bind them. The stitch is as simple as it sounds, you push your needle through the top of the folds on the sides of the adjoining hexagons and loop it back over to the first hexagon that your needle passed through, then repeat. The needle pushes through the folds of both hexagons so take care not to stitch through the card, there is only a small space between the card and the fold of the fabric so you are stitching very close the fold/on the edge. Sew all along the side of the adjoining hexagons. In the photos I used white cotton so the stitches would hopefully be clear in the photos but if you use a cotton in the colours of your fabric the stitches won’t show up as much. You also don’t need to whip the stitches quite as tightly or closely as I did, it’s just a bad habit of mine.

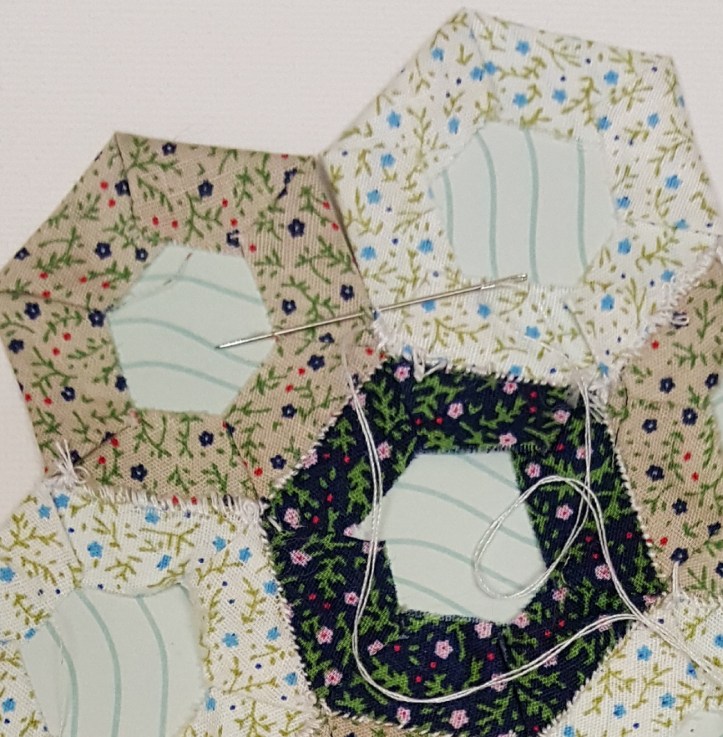
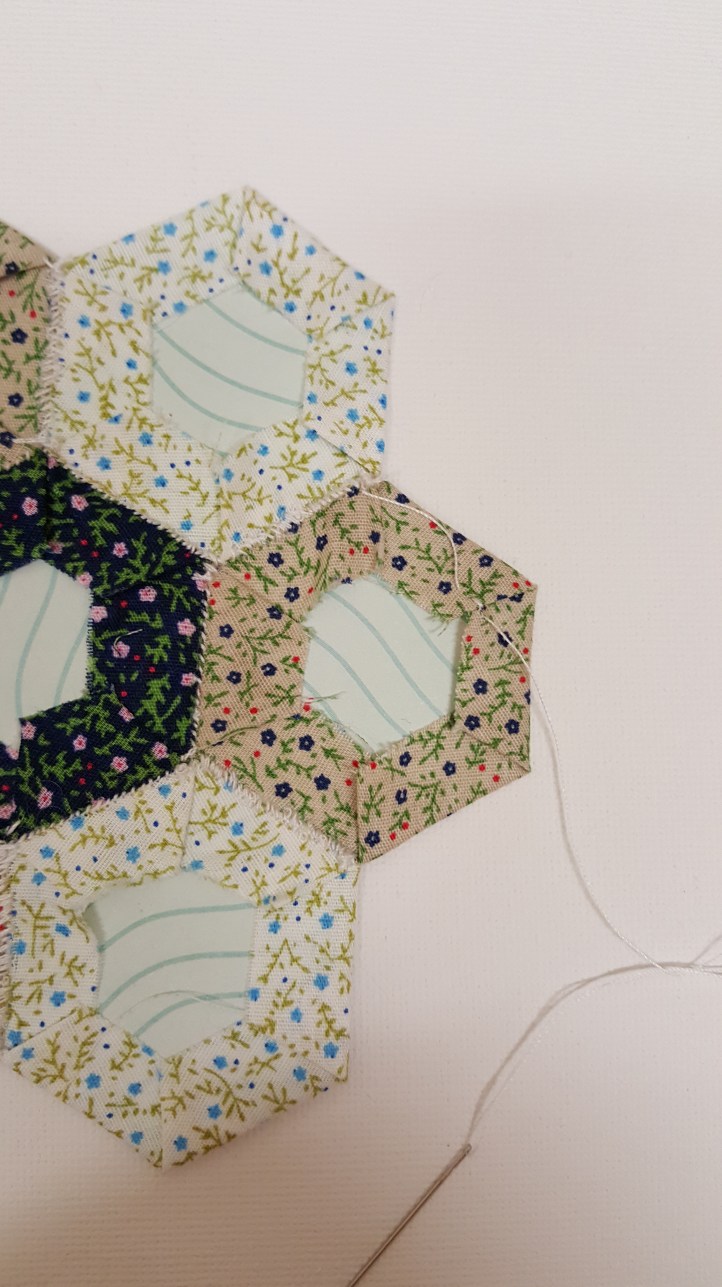
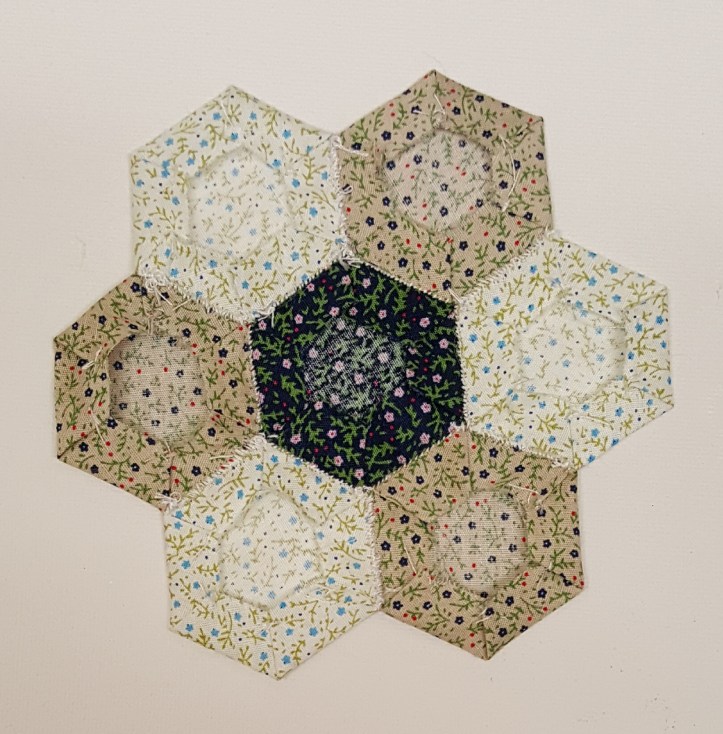
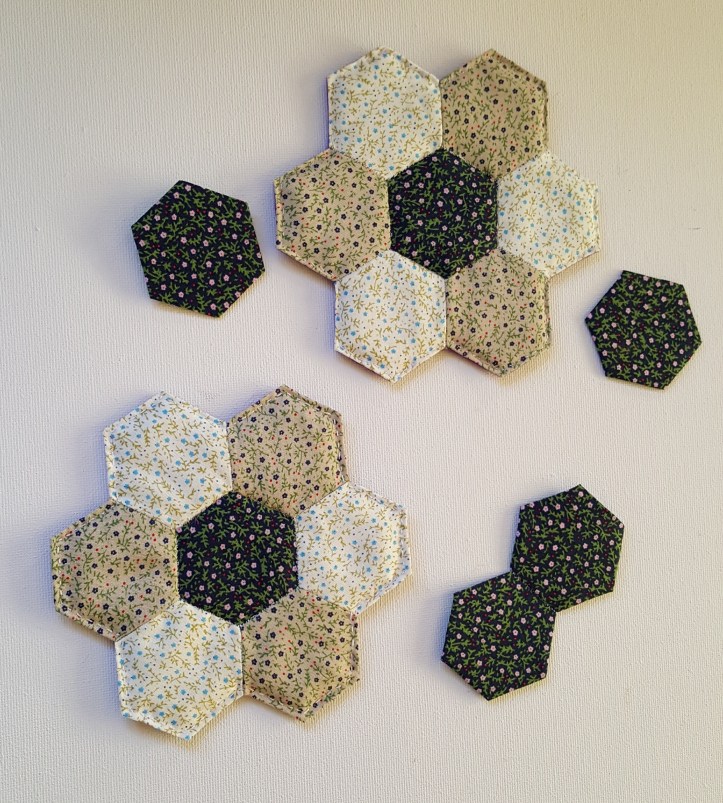
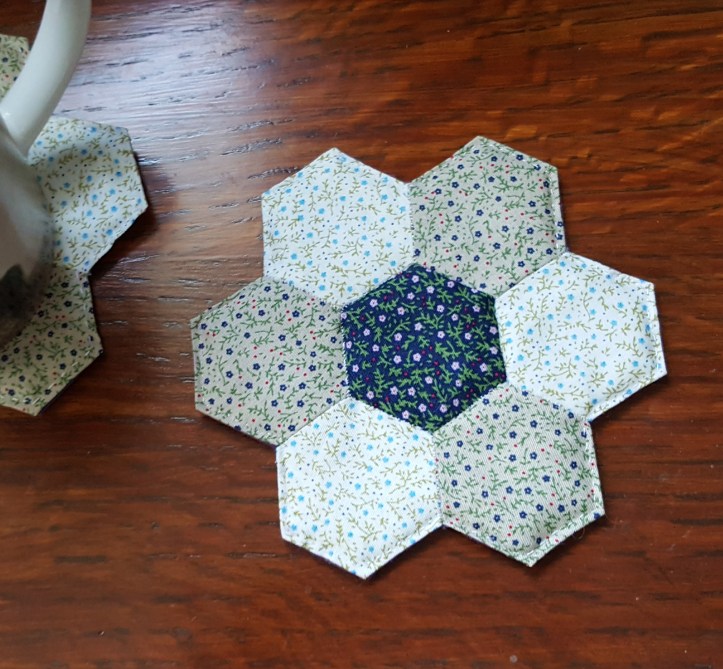
To create the coasters I started with a dark fabric as the centre hexagon then added the other patterned fabric hexagons around the edges of the centre hexagon in an alternating pattern. Once all the hexagons were added onto the central hexagon I needed to stitch the outer hexagons together in what is often known as a y-seam. As EPP is a traditional sewing form passed down from family members in the home there can be variations on how things are done but this is what I find has worked for me but you may have a slightly different way of doing it which is perfectly fine, if it works and it looks good who cares how it gets done. To join the outer hexagons I hold or lay the hexagons down side by side and push my needle at a slight angle through the edge of the fabric until it passes through the first hexagon, I then push the needle straight across to the top of the neighbouring hexagon and as it passes through I pull the needle back over to the other hexagon (looping back over) and repeat until you have stitched up the whole side and all hexagons are stitched together.
To keep the seams down and in place on the sides of the hexagons that are not stitched to another hexagon I just put a simple tacking stitch in the seams under the corner points of the outer edges of the unsewn hexagons. I find one simple stitch in the seam of the points can help the outer hexagons keep their shape when you remove the card from the hexagons in the next step.

Using your needle or fingers gently wiggle the glued fabric seams away from the card hexagons and pull out the card from all of the fabric hexagons.
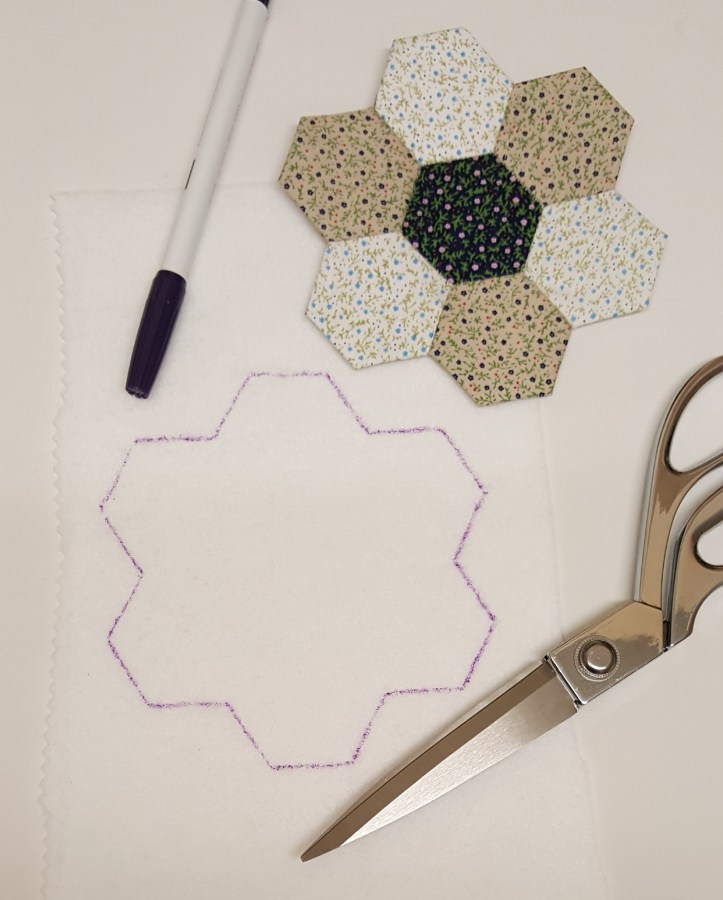
Take a piece of wadding or batting and draw around your fabric hexagons using an erasable fabric pen. Cut out the wadding along the drawn lines. Place the cut wadding over the hexagon flower and using the outer edges of the fabric hexagons as a guide trim back the wadding to about a quarter of an inch. You don’t need to be precise you just need to cut it slightly back from the edge of the fabric layer so when the fabric is stitched down over the wadding the fabric closes neatly over it.
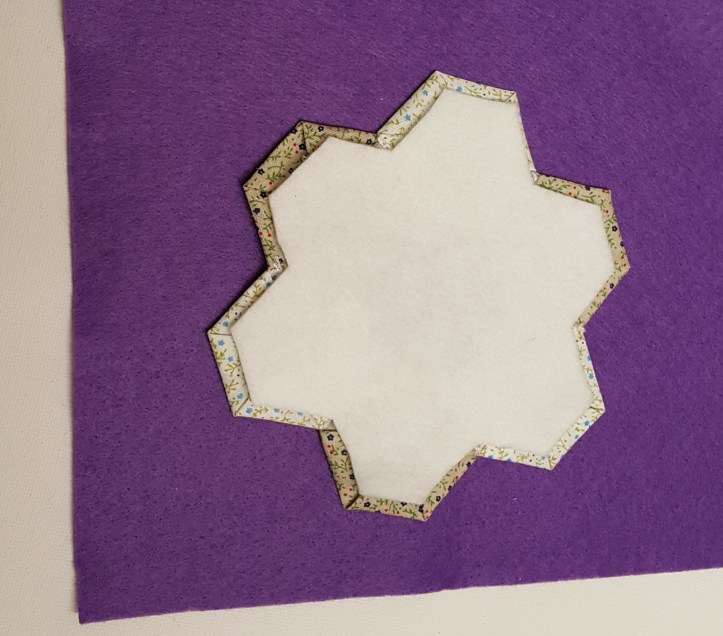
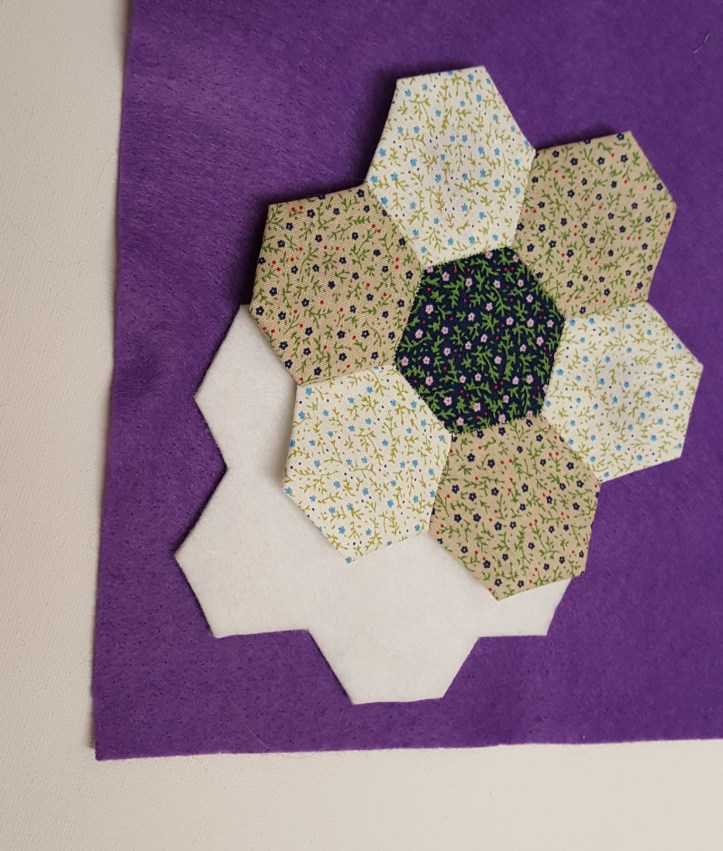
Place the wadding and the fabric hexagons down over a piece of felt so that the wadding is sandwiched between the fabric and felt. Tack down the fabric and wadding to the felt. Top stitch the fabric down onto the felt along the outer edges of the hexagon flower. I handstitched around the outer edges but you could also machine stitch it. You can do some quilt stitching too onto the top of the fabric-wadding-felt sandwich, I just chose to stitch in the ditch around the central hexagon.

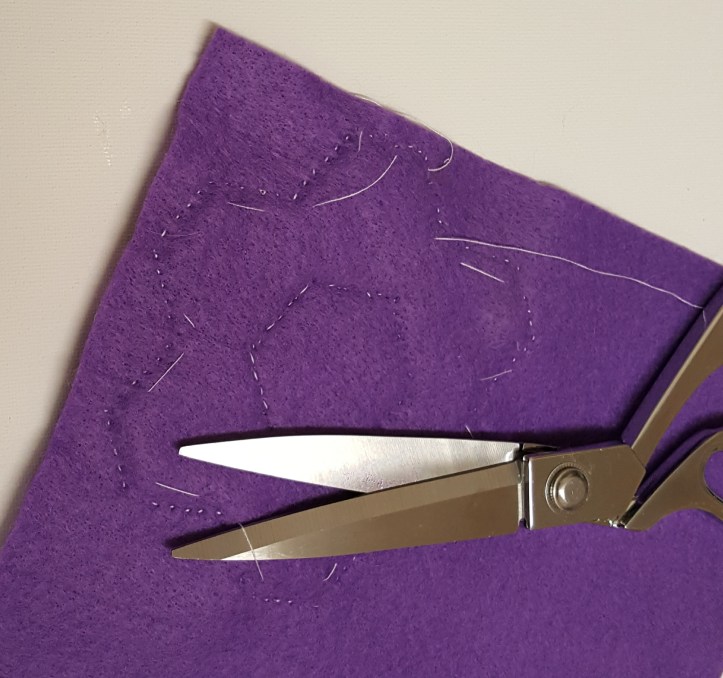
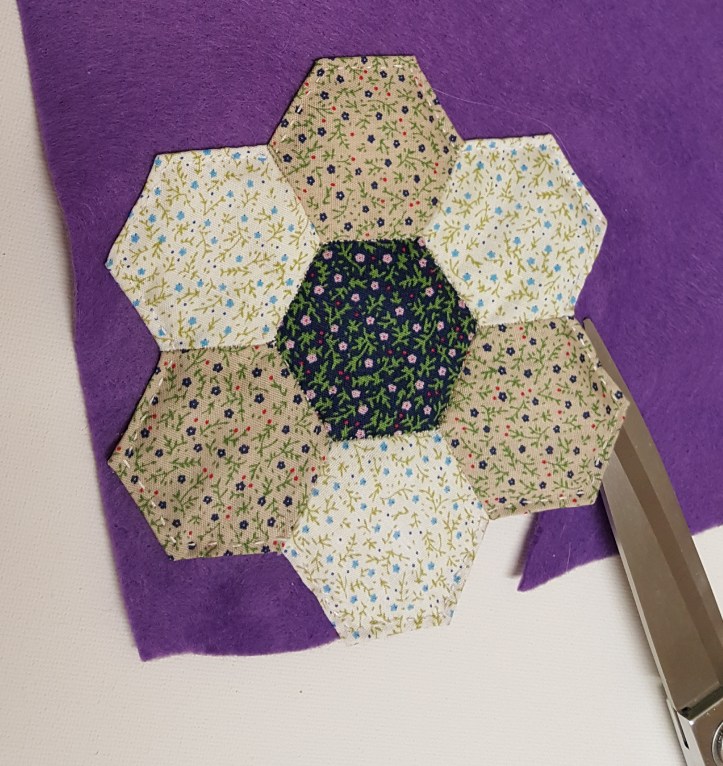
One you have stitched everything down, remove the tacking stitches and using the fabric top layer as a guide cut your felt to size. I used white stitching again as hopefully it will show clearly on the photos but you could choose a more subtle thread that tones with your fabric colours.
I hope you liked my first tutorial using my new Gemini Die Cutting machine, I thought it might be good to do the first project as something you could get started on straight away, straight out of the box. The Gemini makes EPP so much easier and quicker that I am excited to get back into this craft that I had avoided since childhood due to all the labororious cutting out and inaccurate shapes that wouldn’t fit neatly together when stitched. I love it when technology helps us to access an re-explore traditional crafts in a new way. Thank you for reading to the end of this post. Wishing you crafting joys. X

Nicely done. Clear, concise instructions. Thank you
LikeLiked by 1 person
Thank you x 💖
LikeLike
These are very nice and great tutorial! I also have a Gemini and forgot I had the hexie dies…..thanks for the reminder!!!
Missi
LikeLiked by 1 person
Thank you for your lovely comment. I’m pleased you’ve rediscovered the hexagon dies. X 💖
LikeLike
Fabulous tutorial. Great job! I love the colors
LikeLiked by 1 person
Thank you x
LikeLike
Very well done easy to follow. Thank you
LikeLiked by 1 person
Thank you for stopping by and for your lovely comments. X
LikeLike
I like that you have made the instructions easy to follow.. thank you
LikeLiked by 1 person